How to Build a Custom MCP Server in TypeScript
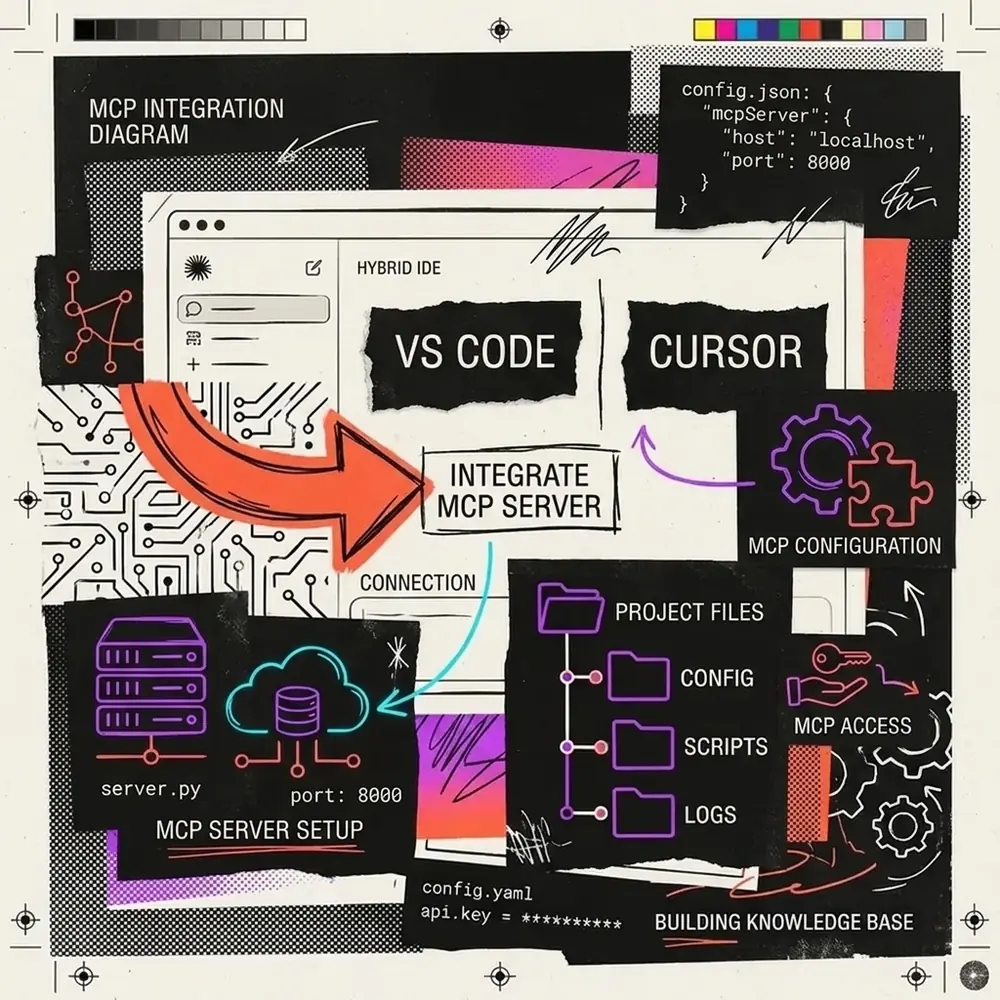
The Model Context Protocol (MCP) has fundamentally changed how we build AI-assisted development tools. Instead of constantly copying and pasting context into chat windows, MCP allows editors like Cursor and VS Code to autonomously request context from local services.
While Anthropic provides pre-built MCP servers for standard filesystems and GitHub, the true power of MCP unlocks when you build a custom server tailored to your proprietary infrastructure. In this tutorial, we will build a custom MCP server in TypeScript that allows an AI assistant to query a mock internal user database.
Step 1: Project Initialization
First, let’s create a new TypeScript project and install the necessary dependencies. Anthropic provides an official @modelcontextprotocol/sdk package that handles all the heavy lifting of the JSON-RPC protocol.
mkdir my-custom-mcp-server
cd my-custom-mcp-server
npm init -y
npm install @modelcontextprotocol/sdk zod
npm install -D typescript @types/node ts-node
npx tsc --init
Update your tsconfig.json to ensure modern module resolution:
{
  "compilerOptions": {
    "target": "ES2022",
    "module": "CommonJS",
    "strict": true,
    "esModuleInterop": true,
    "skipLibCheck": true,
    "forceConsistentCasingInFileNames": true,
    "outDir": "./dist"
  },
  "include": ["src/**/*"]
}
Step 2: Setting up the Server Infrastructure
Create a src/index.ts file. We will instantiate the MCP Server and set up the Stdio transport layer. By default, most editor integrations use standard Input/Output (stdio) to communicate securely with the local server process.
import { Server } from "@modelcontextprotocol/sdk/server/index.js";
import { StdioServerTransport } from "@modelcontextprotocol/sdk/server/stdio.js";

// Initialize the MCP Server
const server = new Server({
  name: "Internal-User-DB-Server",
  version: "1.0.0"
}, {
  capabilities: {
    tools: {} // We will register our tools here
  }
});

async function main() {
  // Connect the server to standard I/O
  const transport = new StdioServerTransport();
  await server.connect(transport);
  console.error("MCP Server running on stdio"); // Use stderr for logs, stdout is for MCP!
}

main().catch(console.error);
[!WARNING]
Logging Rule: When building stdio-based MCP servers, you must not useconsole.log()for debugging! The stdout stream is strictly reserved for the JSON-RPC protocol. If you write debug logs to stdout, the protocol will break. Always useconsole.error()for your logs.
Step 3: Defining Custom Tools
In MCP, a “Tool” is a discrete function you expose to the AI. The AI can decide to invoke this tool if it needs the information. We will use the zod library to strictly define the input schema for our tool.
Let’s expose a tool called get_user_by_email.
import { CallToolRequestSchema, ListToolsRequestSchema } from "@modelcontextprotocol/sdk/types.js";
import { z } from "zod";

// Mock Database
const mockDatabase = [
  { id: 1, email: "alice@example.com", status: "active", role: "admin" },
  { id: 2, email: "bob@example.com", status: "suspended", role: "user" }
];

// Register the tool definitions
server.setRequestHandler(ListToolsRequestSchema, async () => {
  return {
    tools: [
      {
        name: "get_user_by_email",
        description: "Retrieve internal user details (status, role, ID) by their email address.",
        inputSchema: {
          type: "object",
          properties: {
            email: {
              type: "string",
              description: "The exact email address of the user to lookup."
            }
          },
          required: ["email"]
        }
      }
    ]
  };
});
Step 4: Handling Tool Invocations
Now that the AI knows the tool exists, we must handle the actual execution when the AI calls it.
server.setRequestHandler(CallToolRequestSchema, async (request) => {
  if (request.params.name === "get_user_by_email") {

    // Extract and validate arguments
    const email = String(request.params.arguments?.email);
    const user = mockDatabase.find(u => u.email === email);

    if (!user) {
      return {
        content: [{ type: "text", text: `Error: No user found with email ${email}` }]
      };
    }

    // Return the result to the AI
    return {
      content: [
        {
          type: "text",
          text: JSON.stringify(user, null, 2)
        }
      ]
    };
  }

  throw new Error(`Unknown tool: ${request.params.name}`);
});
Step 5: Building and Testing in Cursor
Compile your TypeScript code:
npx tscTo test this in Cursor:
- Open Cursor Settings -> Features -> MCP
- Click
+ Add New MCP Server - Name:
My Custom DB - Type:
command - Command:
node /absolute/path/to/my-custom-mcp-server/dist/index.js
Once connected, open the Cursor Chat and ask: “Can you check the internal database for the status of alice@example.com?”
Cursor’s AI model will recognize the get_user_by_email tool, execute the node script via stdio, pass the email argument, and interpret the JSON response to formulate an answer.
Conclusion
Building a custom MCP server in TypeScript is remarkably straightforward thanks to the official SDK. By exposing your internal GraphQL APIs, PostgreSQL databases, or proprietary microservices as MCP tools, you turn your AI coding assistant from a generic helper into a deeply integrated, highly specialized member of your engineering team.