Tutorial: Building Pre-Production Storyboards in Google Flow
This tutorial walks through creating a storyboard using Google Flow’s Storyboard Studio (available in Google Labs), from script import and custom character uploads to inserting new scenes and animating via Google Veo.
Step-by-Step Workflow
Step 1: Create a Project and Choose a Style
- Launch Google Flow and open Storyboard Studio from the tools panel.
- Select a visual style preset (e.g., 3D Animation, Line Art, or Photorealistic Cinematic).
Step 2: Import and Format the Script
To achieve optimal scene extraction in Google Flow:
- Upload a plain text (
.txt), Markdown (.md), or PDF file into the script pane. - Structure script lines using clear scene headers (
INT./EXT.), character tags, and action descriptions. - Flow will parse the script automatically into locations, actions, and character cues.
[SCENE 1] EXT. NEON CITY STREET - NIGHT
@Maya stands under the glowing rain-slicked overhang, holding a digital tablet.
CAMERA: Close-up on @Maya's face as neon reflections streak across her visor.
Step 3: Custom Character Upload & Consistency Anchoring
[!TIP] To preserve your own original character designs across all storyboard frames, upload reference images directly into the Assets catalog before rendering panels.
- Navigate to the Assets tab in the left sidebar.
- Click + Add Asset Profile and select Character.
- Upload 1 to 3 front-facing reference photos or concept art drawings of your character.
- Assign a unique tag identifier (e.g.,
@Mayaor@DetectiveJohn). - Set baseline visual parameters (hair style, outfit colors, art style weights).
When panel generation runs, Google Flow’s visual encoder pins your uploaded character identity into every scene prompt, eliminating facial drift across camera angles.
Step 4: How to Add & Split Scenes in the Storyboard Timeline
Creators often need to add new visual beats or split long script paragraphs into dedicated camera panels after the initial script parse.
Initial Timeline:  [ Scene 1: Frame A ] ----------> [ Scene 2: Frame B ]
                                            ^
                                     Click (+ Add Scene)
Updated Timeline: [ Scene 1: Frame A ] -> [ NEW SCENE ] -> [ Scene 2: Frame B ]- Adding a New Scene: Hover over the divider between two storyboard panels and click the + Insert Scene icon. You can type a custom prompt or paste a new script excerpt directly into the scene editor.
- Splitting an Existing Panel: Click on a panel, select Split Scene Frame, and drag the split handle to separate dialogue from action shots.
Step 5: Fix Drift with Manual Tagging
- Review the generated frames for character drift.
- If a character’s face or costume shifts, click the frame editor, highlight the character, and tag it with the registered reference profile from your assets catalog.
- Re-render the frame to lock in visual consistency.
Step 6: Animate via Google Veo
- For dynamic previews, select target panels and click the Animate toggle.
- The system sends the layout coordinates to Google’s Veo video model to compile short pre-visualization clips.
Image Metadata
- Hero Image:
- Prompt: “Clean minimal UI layout showing three storyboard frame panels with pastel illustrations, white workspace backdrop, daylight”
- Filename: “storyboard-tutorial-hero.jpg”
- Alt: “Storyboard panels UI mockup”
- Supporting Visual 1:
- Prompt: “Sleek dropdown menu user interface graphic showing style options, pastel color details”
- Filename: “style-menu-ui.jpg”
- Alt: “Style menu dropdown interface”
- Supporting Visual 2:
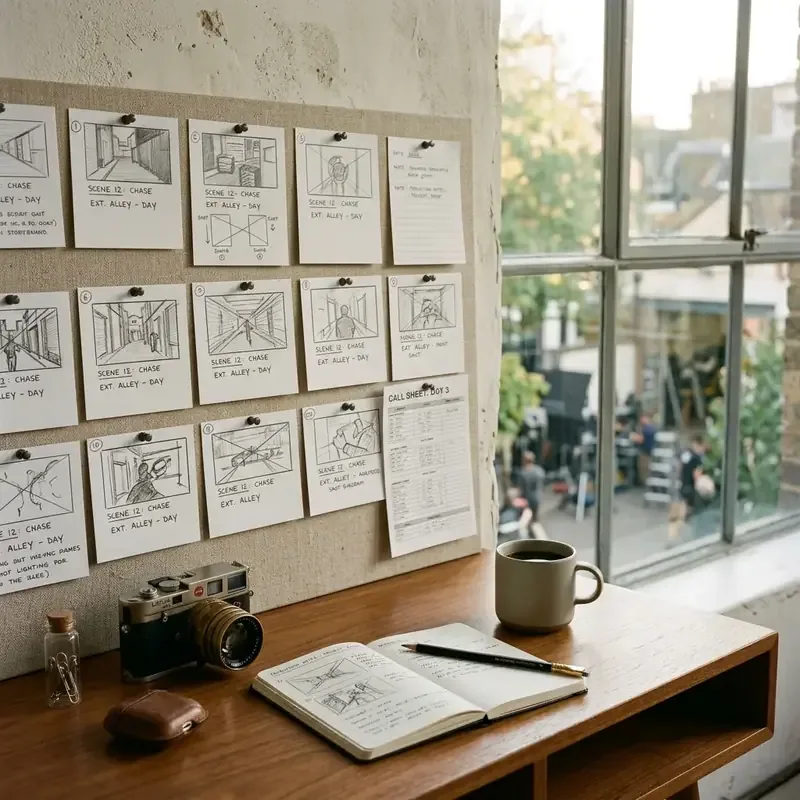
- Prompt: “Close-up of a designer glass cup and white notepad on a modern clean table with soft shadows”
- Filename: “notepad-detail.jpg”
- Alt: “Designer notepad detail”
Related Production Guides
- For an overview of pre-production workflow optimization, explore The Producer’s Guide to AI-Assisted Pre-Production Workflows.
- Compare Storyboard Studio tools in our overview Google Flow Storyboard Studio: Product Overview.